

How To Set X Axis In R
Axes customization in R
Nosotros are going to employ the data of the code to a higher place on the post-obit examples:
# Reproducible information prepare.seed(1) 10 <- runif(100, min = -5, max = v) y <- ten ^ 3 + rnorm(100, hateful = 0, sd = 5) X and Y axis labels
The default axis labels will depend on the function you are using, east.g.plot function will use the names of the input data, boxplot won't show any axis labels by default and hist will show the name of the variable on the X-axis and "Frequency" or "Density" on the Y-axis, depending on the type of the histogram.
Default plot
For analogy purposes nosotros are going to use the plot function but the examples are extensible to other functions. In society to plot the data we defined before you tin can type:
plot(ten, y, pch = 19) 
Custom axes labels
In gild to alter the axis labels yous can specify the arguments xlab and ylab as follows:
plot(x, y, pch = 19, xlab = "My X-centrality label", ylab = "My Y-axis label") 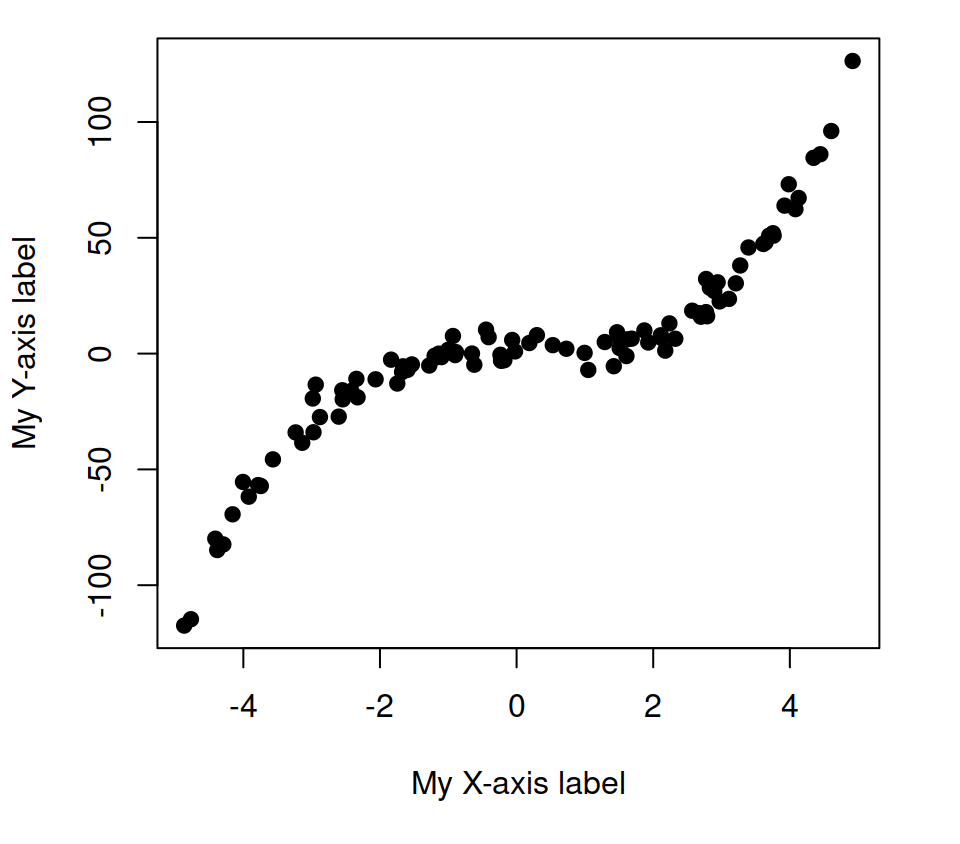
Labels color
In addition, is is possible to modify the colour of the axes labels with the col.lab statement.
plot(x, y, pch = 19, xlab = "My Ten-centrality label", ylab = "My Y-axis label", col.lab = 4) # Color of the labels 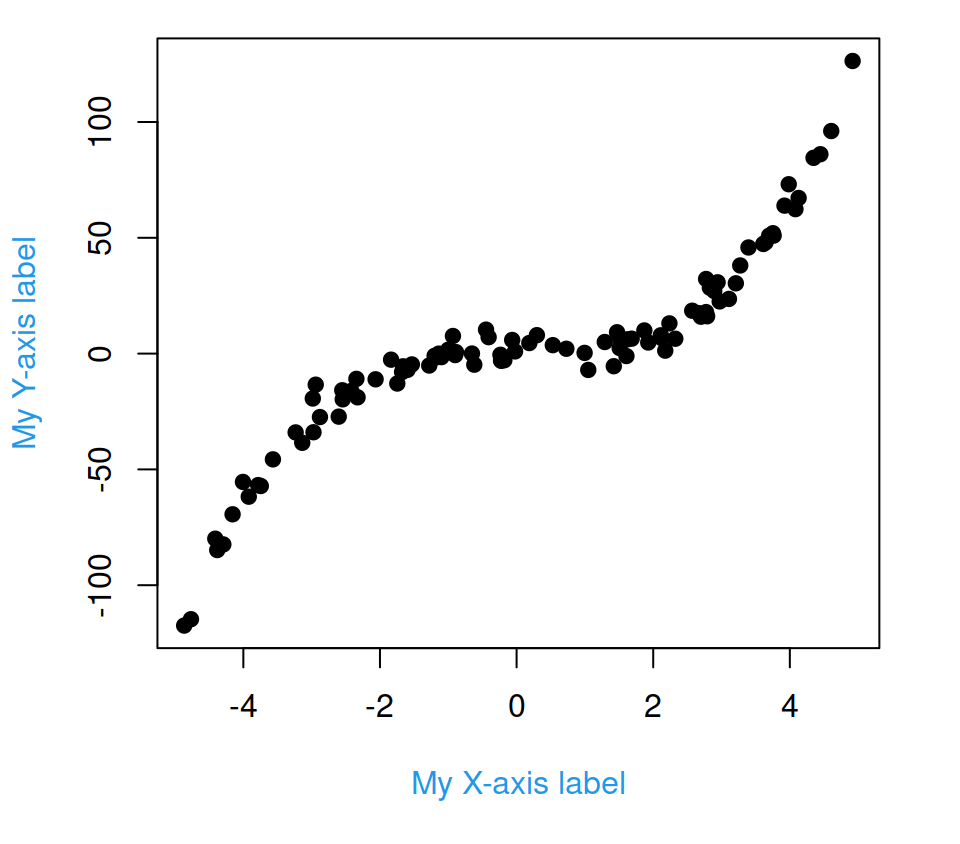
Remove centrality labels
You can remove the centrality labels with 2 unlike methods:

Option 1. Gear up the xlab and ylab arguments to "", NA or Aught.
# Delete labels plot(x, y, pch = 19, xlab = "", # Also NA or Nada ylab = "") # Also NA or Naught 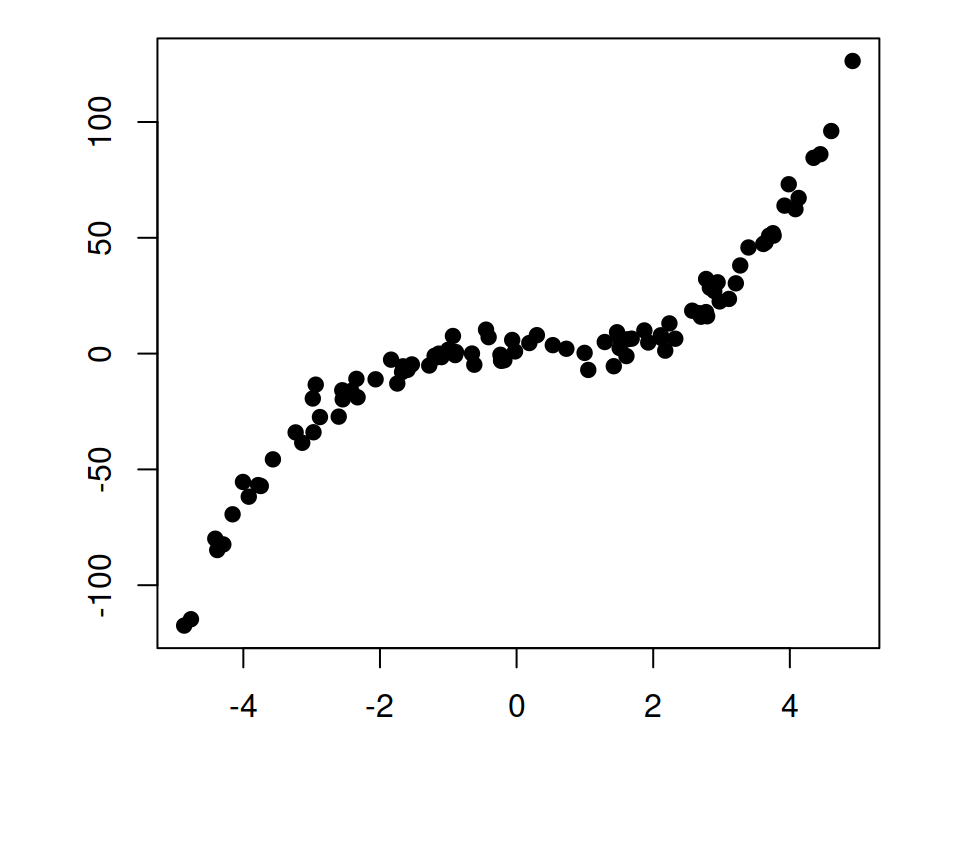
Option two. Ready the argument ann to FALSE. This will override the label names if provided.
# Equivalent plot(x, y, pch = 19, xlab = "My Ten-centrality label", ylab = "My Y-axis label", ann = FALSE) The axis function
The axis office allows calculation axes to all sides of the the current plot, with the possibility of specifying the position and the labels of the tick marks. Recall to blazon ?axis for farther details.
| axis | Position |
|---|---|
| 1 | below |
| 2 | left |
| iii | above |
| 4 | right |
Selection 1. Prepare xaxt = "n" and yaxt = "north" to remove the tick labels of the plot and add together the new labels with the centrality function. Note that the at statement sets where to show the tick marks.
plot(ten, y, pch = nineteen, xaxt = "northward", yaxt = "n") # 10-centrality centrality(1, at = c(-four, 0, four)) # Y-axis centrality(2, at = c(-100, -l, 0, 50, 100)) 
Pick 2. Gear up axes = Simulated inside your plotting function to remove the plot box and add the new axes with the centrality function.
plot(ten, y, pch = 19, axes = FALSE) # Add X-axis axis(one) # Add Y-axis axis(2) # Yous can add together the plot box again # box() 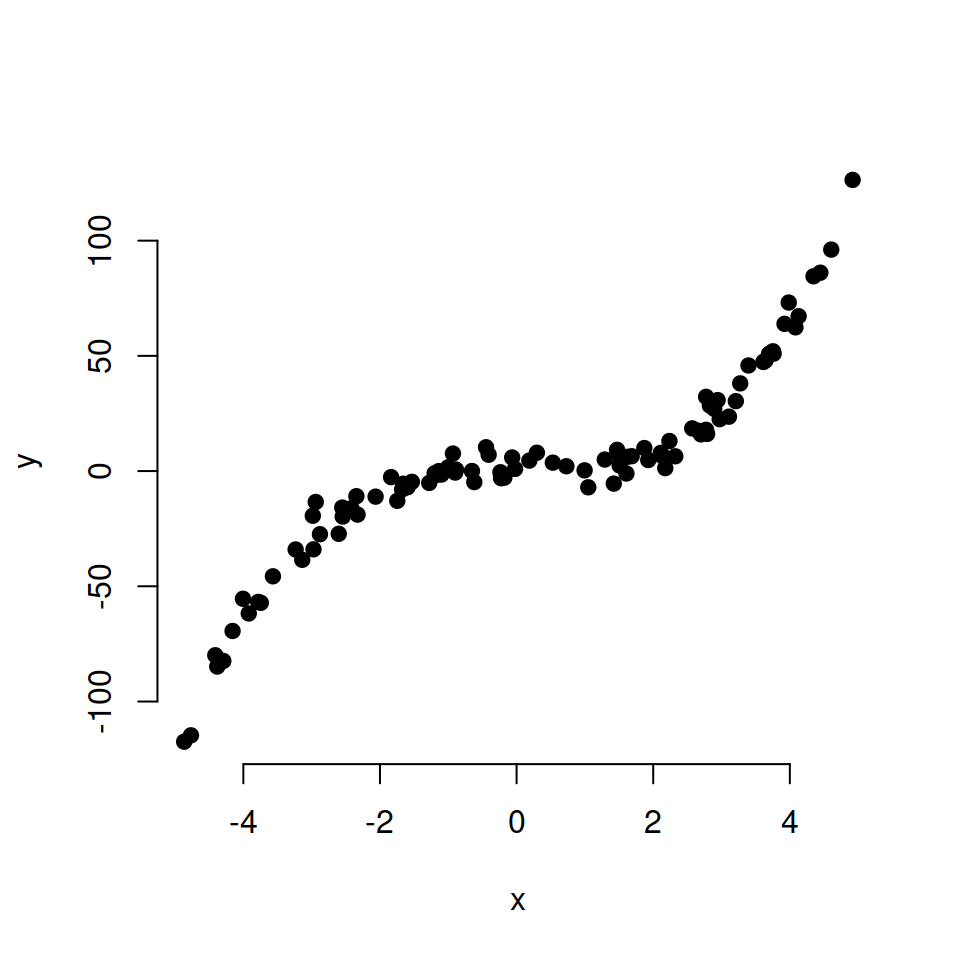
Colour of the axes
Y'all tin as well customize the color of the axis and the ticks with the col and col.ticks arguments.
plot(x, y, pch = 19, axes = FALSE) # Add together X-axis axis(1, col = "blue", # Axis line colour col.ticks = "dark-green", # Ticks color col.axis = "crimson") # Labels color # Add Y-axis axis(two, col = "blue", col.ticks = "green", col.centrality = "ruby-red") 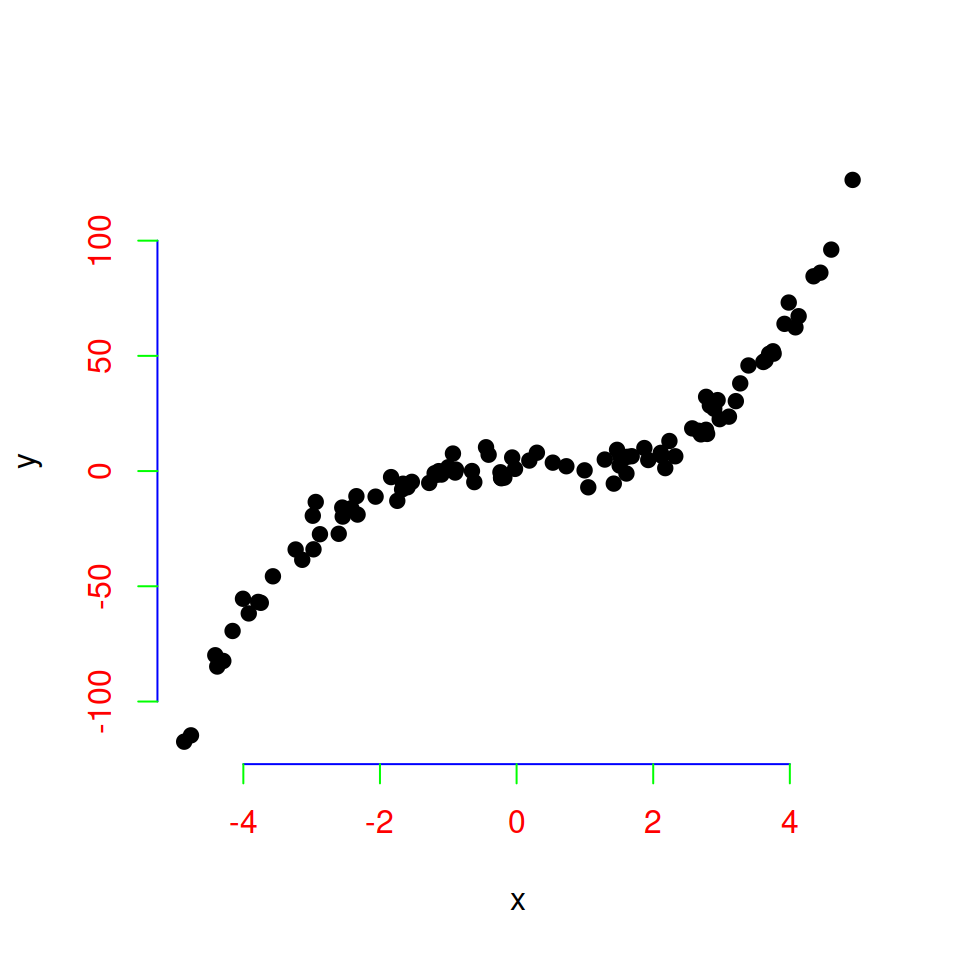
Axis tick marks
In improver to axes labels, the tick marks of each axis can be customized in different ways.
xaxp and yaxp arguments
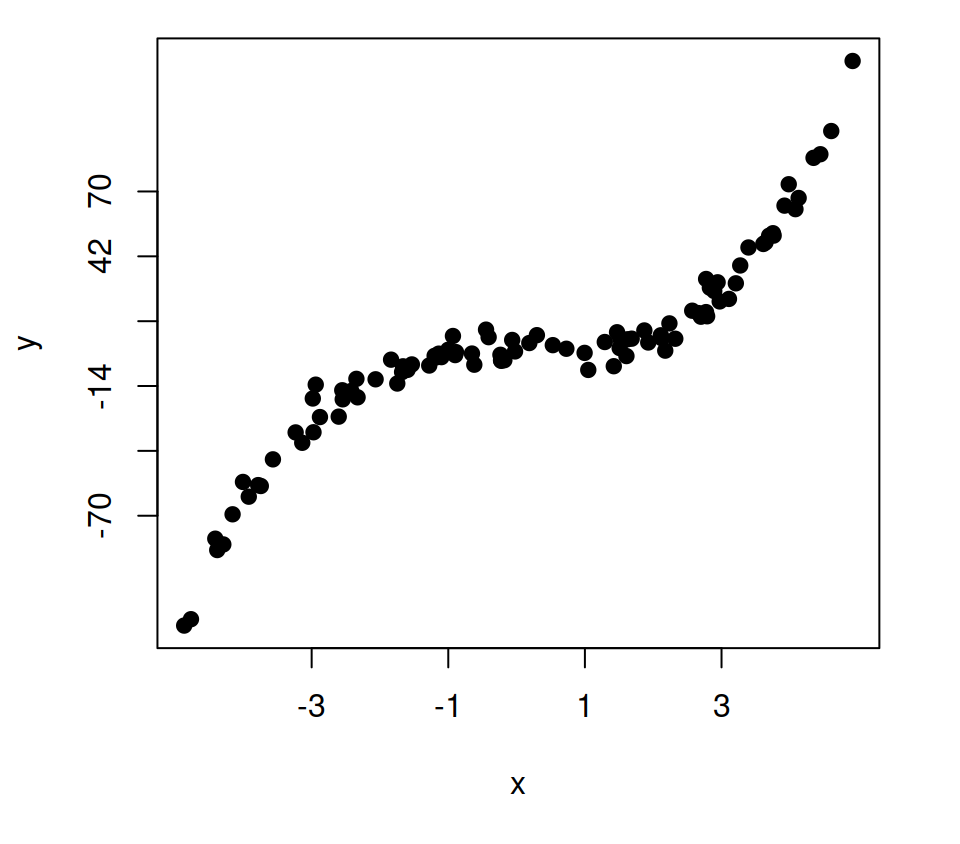
The xaxp (10-axis) and yaxp (Y-axis) arguments allow customizing where the ticks of each axis start and finish and the number of regions to split the axis specifying vectors of the form c(beginning, end, number_regions).
plot(x, y, pch = nineteen, xaxp = c(-iii, 3, iii), yaxp = c(-70, lxx, 5)) Pocket-sized ticks

It is possible to add pocket-sized ticks to the axes with the pocket-size.tick function of the Hmisc library. The function will allow you to specify the tick density, the size and addition arguments to each axis.
# install.packages("Hmisc") library(Hmisc) plot(x, y, pch = xix) minor.tick(nx = 2, ny = 2, # Ticks density tick.ratio = 0.5) # Ticks size Interior ticks
You can set up interior ticks passing positive values to tck argument. The greater the value, the longer the ticks. Default value is tck = -0.five.
# Interior ticks plot(x, y, pch = 19, tck = 0.02) 
Rotate tick marking labels
It is possible to rotate the tick marking labels in several means making use of the las statement.

Option one. Parallel to axis (default).
plot(x, y, pch = 19, las = 0, primary = "Parallel") 
Selection ii. Horizontal.
plot(10, y, pch = 19, las = i, primary = "Horizontal") 
Selection 3. Perpendicular to axis.
plot(x, y, pch = nineteen, las = two, main = "Perpendicular") 
Option iv. Vertical.
plot(10, y, pch = nineteen, las = three, main = "Vertical") Custom tick mark labels
The labels argument of the axis function allows customizing the tick mark labels.
# Change Ten-centrality tick labels plot(x, y, pch = 19, xaxt = "n") axis(1, at = seq(circular(min(x)), round(max(x)), by = 1), labels = 1:11) 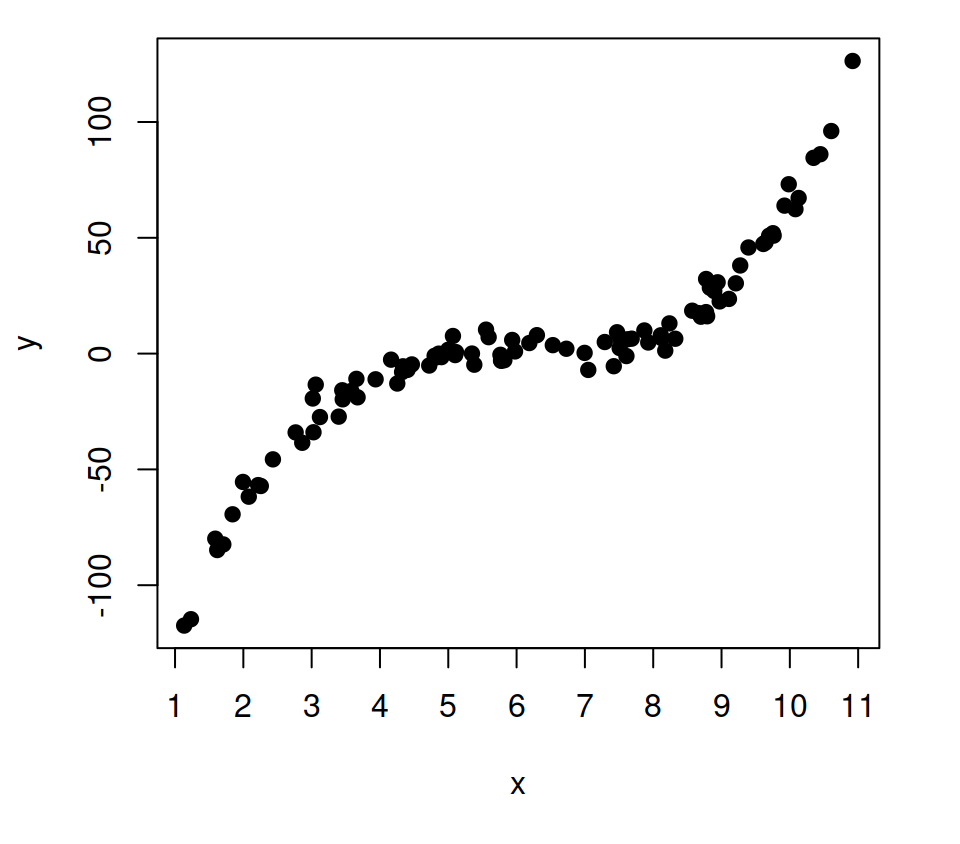
Note that you can too prepare texts in addition to numbers, or even expressions.
# X-axis tick labels with text plot(x, y, pch = 19, xaxt = "n") centrality(1, at = c(-ii, two), labels = c("Some text", "Other text")) 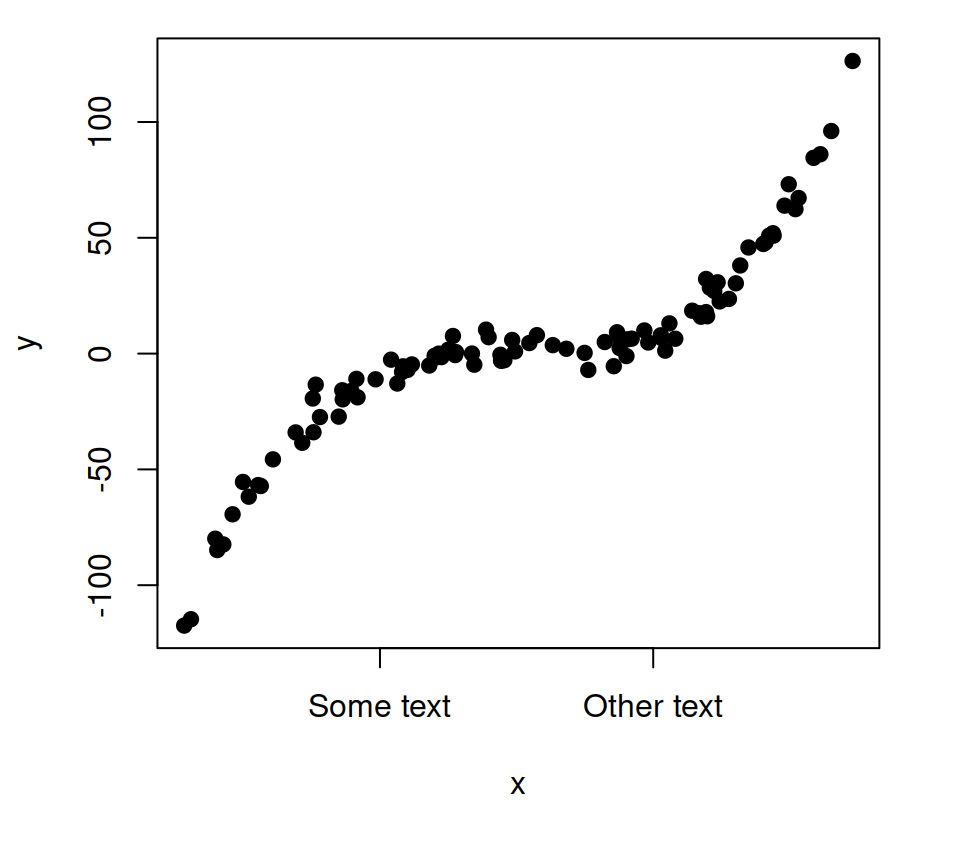
Remove tick marks
Y'all can remove the tick marks of one of the two axis or of both at the same time setting arguments xaxt and yaxt to "".

Option 1. Remove simply Ten-axis ticks.
# Remove X axis tick labels plot(x, y, pch = 19, xaxt = "north", principal = "xaxt = 'north'") 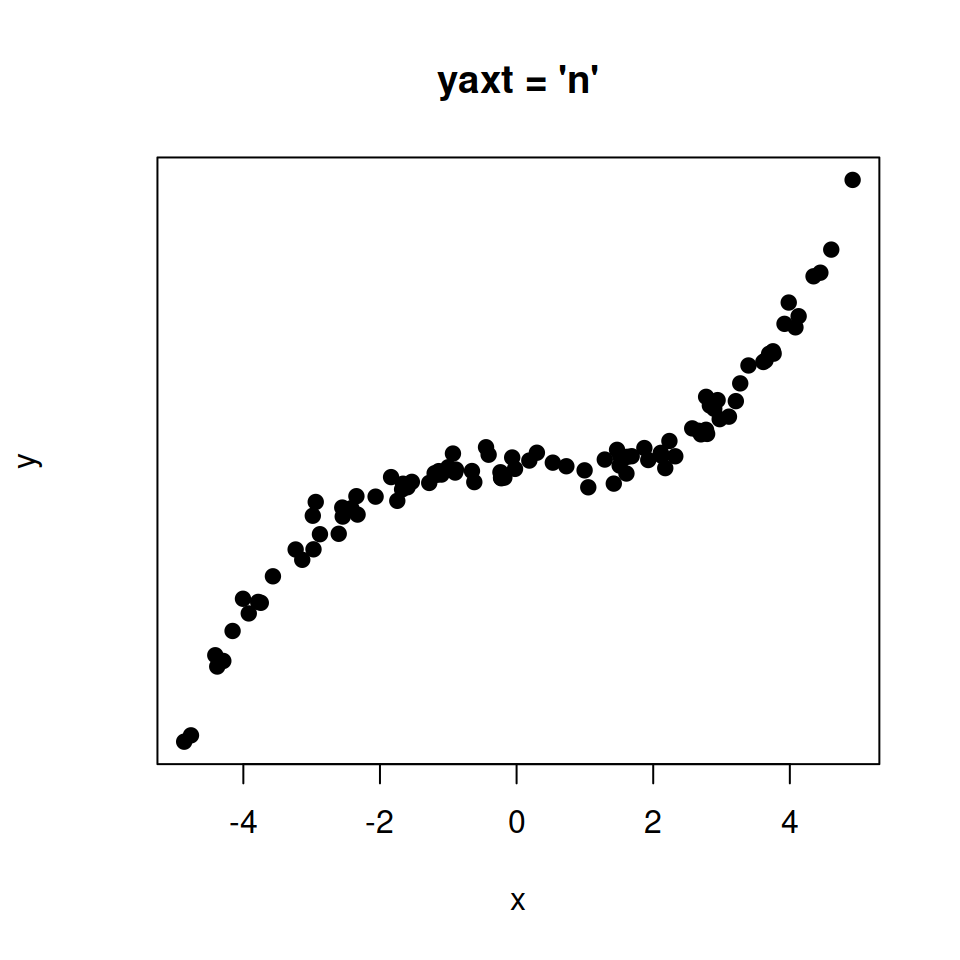
Pick 2. Remove only Y-centrality ticks.
# Remove Y axis tick labels plot(x, y, pch = xix, yaxt = "n", master = "yaxt = 'n'") 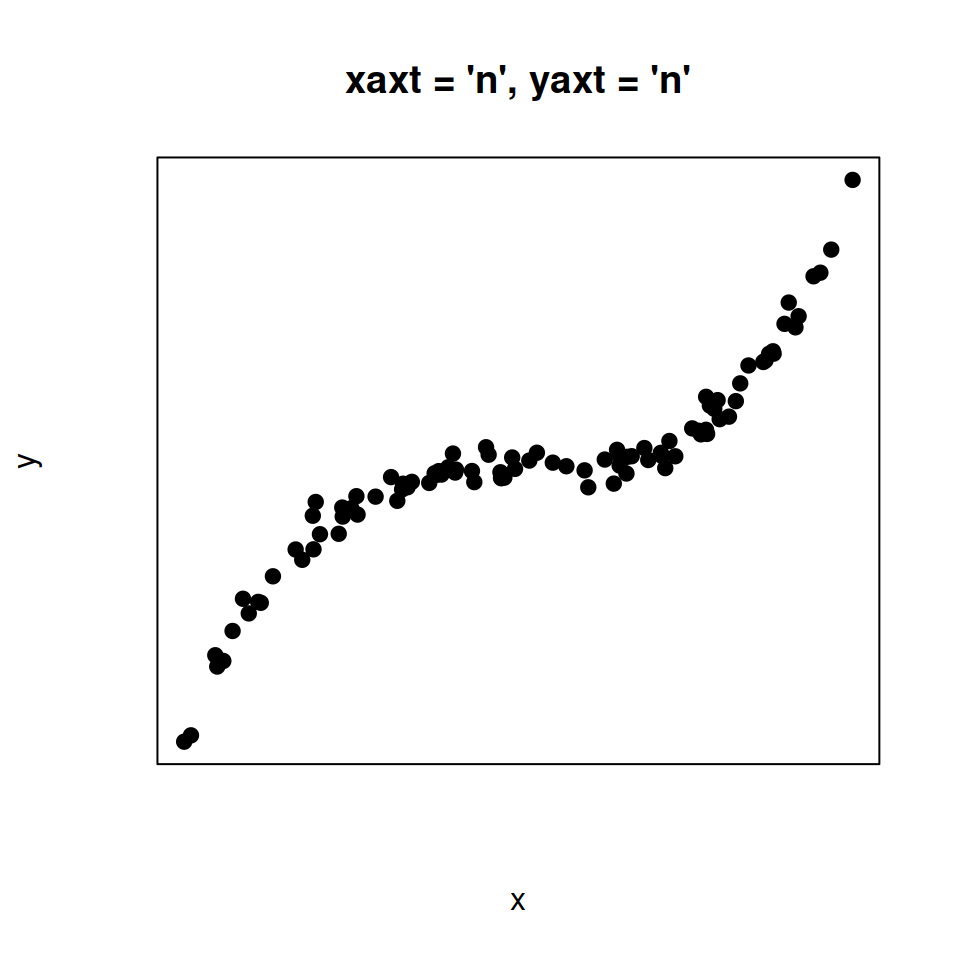
Option 3. Remove both X-axis and Y-axis ticks.
# Remove both axis tick labels plot(x, y, pch = 19, yaxt = "n", xaxt = "n", primary = "xaxt = 'due north', yaxt = 'due north'") 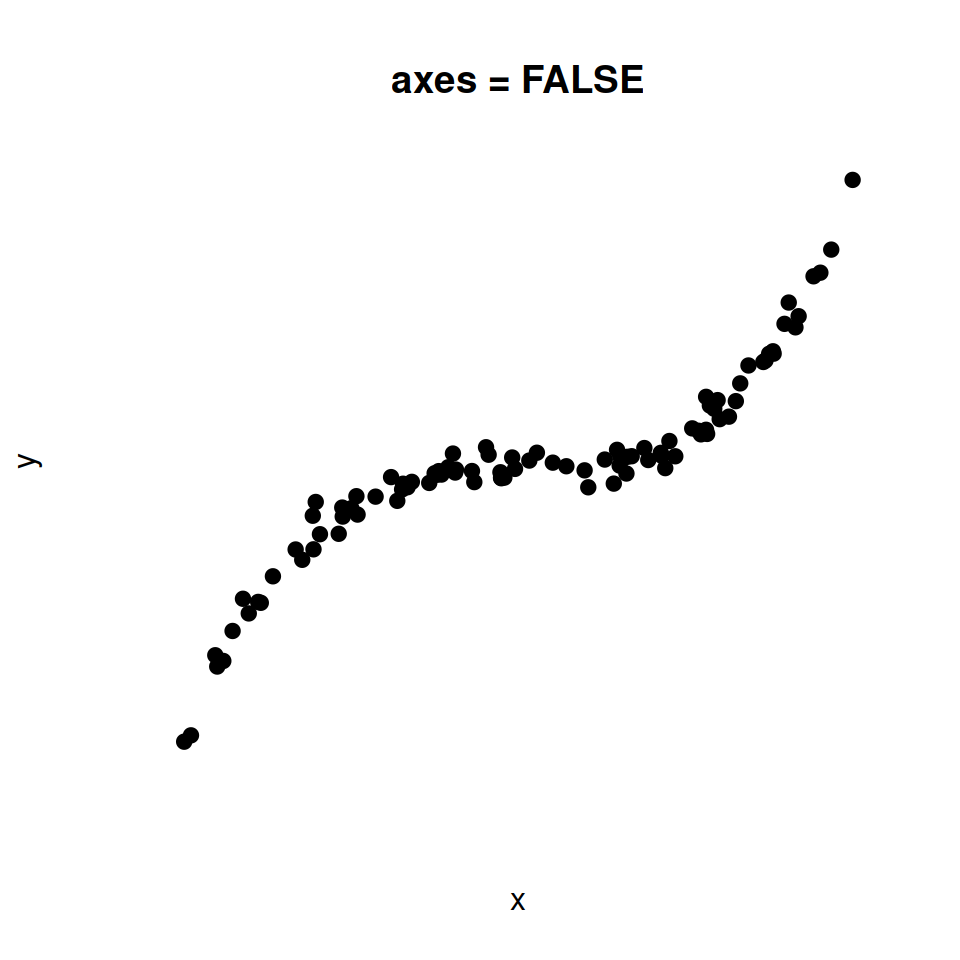
Option 4. Remove both 10-axis and Y-axis ticks and the box.
# Remove axis tick labels and the box plot(x, y, pch = 19, axes = FALSE, master = "axes = FALSE") Axis limits
The axis limits can exist customized with the xlim and ylim arguments for the 10 and Y axis, respectively.
# Centrality limits plot(10, y, pch = 19, xlim = c(0, 4), # Ten-axis limits ylim = c(0, 100)) # Y-axis limits 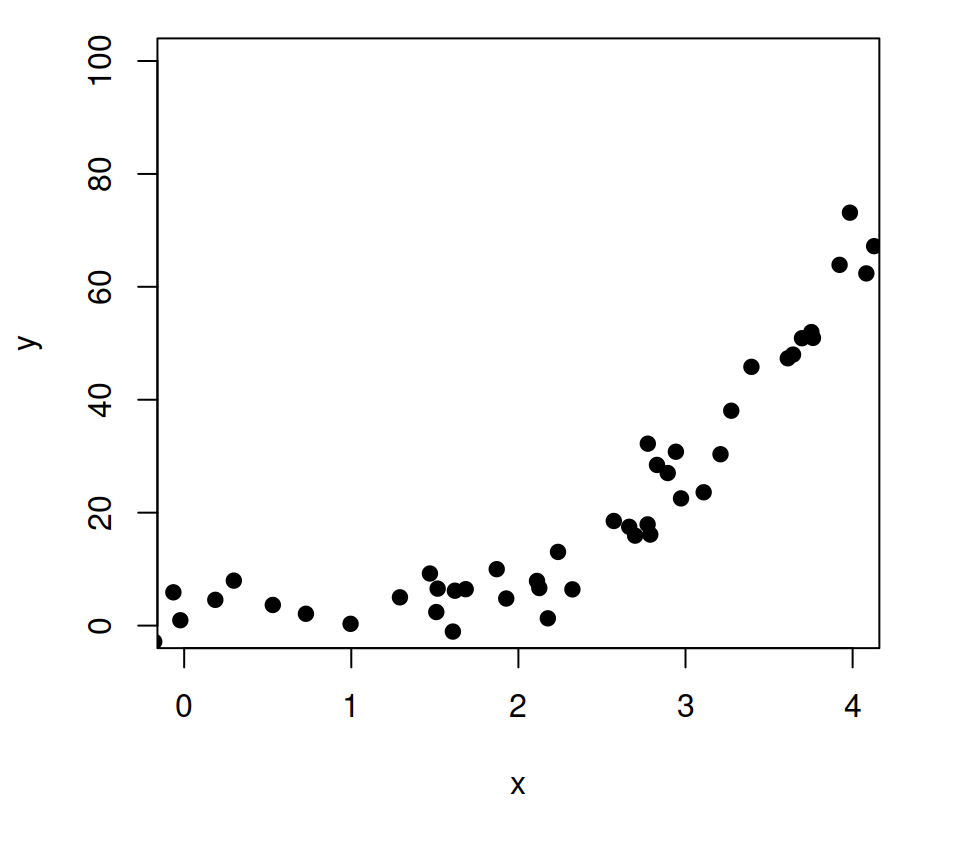
Axis scale
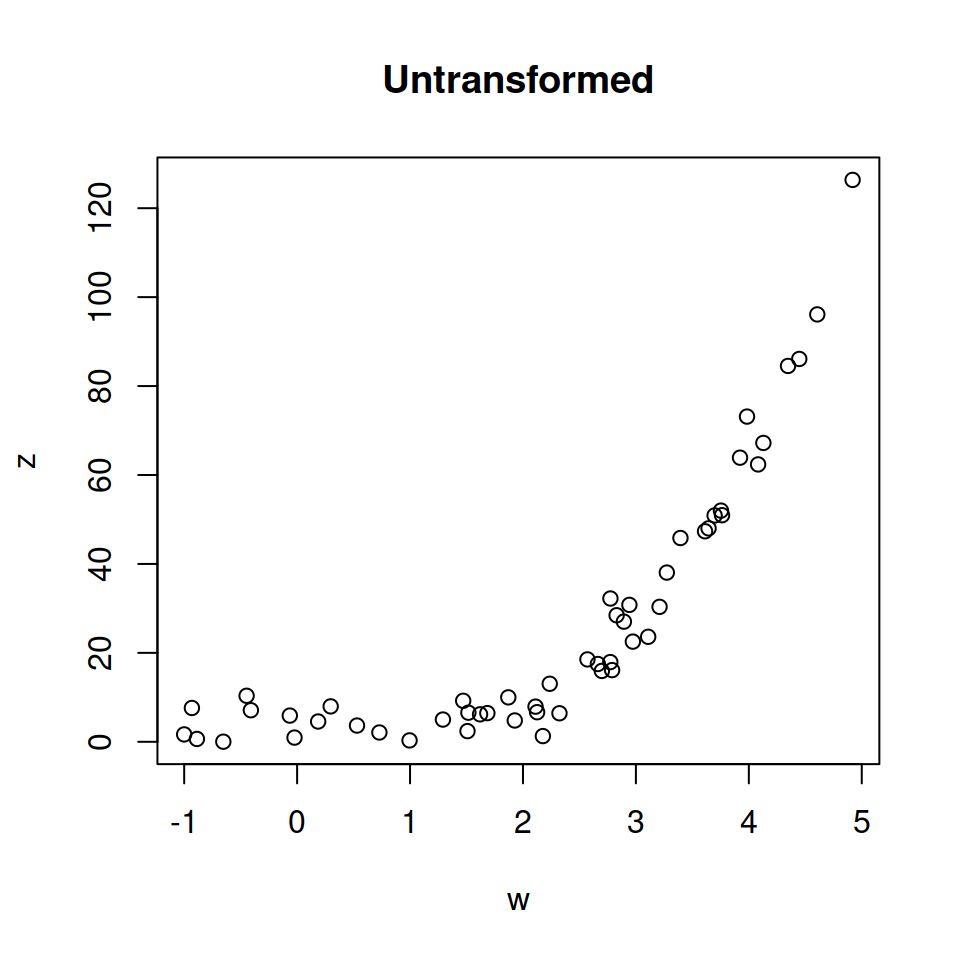
Original data.
# Positive information due west <- x[10 > 0] z <- y[y > 0] # Default plot(westward, z, main = "Untransformed") 
X-axis transformed.
# Log calibration. X-axis plot(w, z, log = "10", main = "X-centrality transformed") 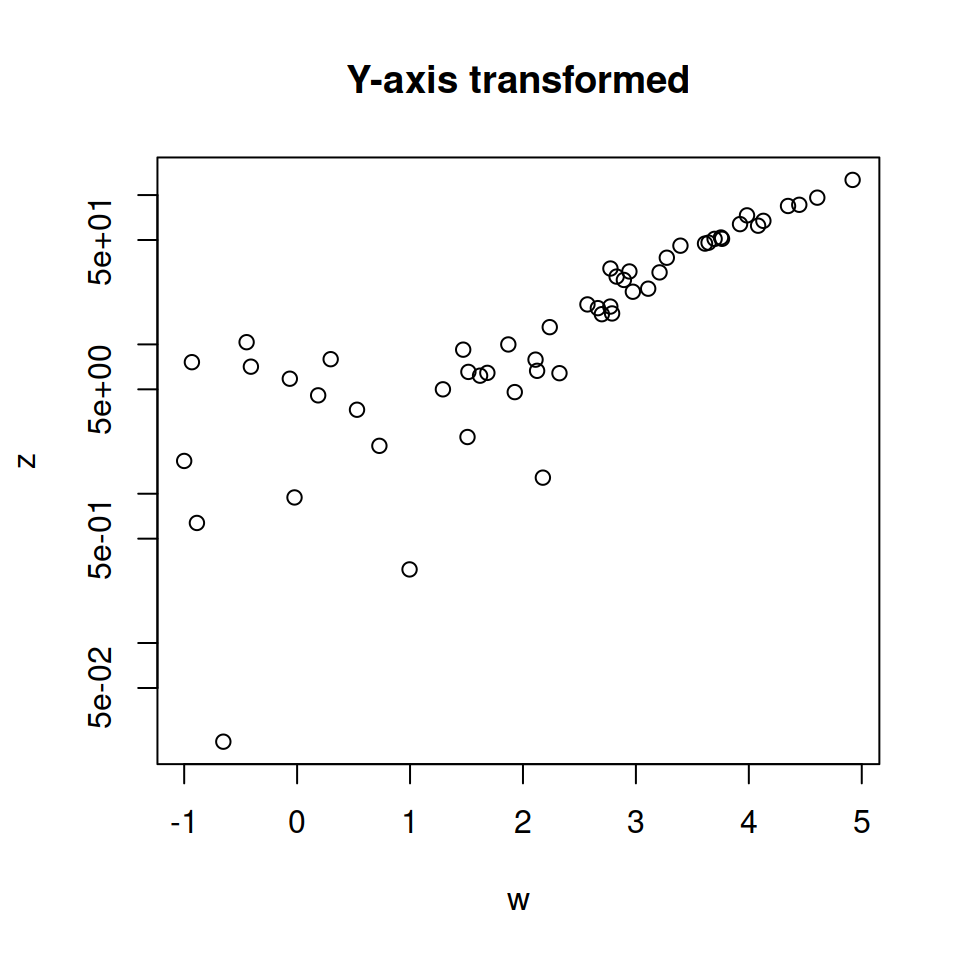
Y-axis transformed.
# Log calibration. Y-axis plot(westward, z, log = "y", chief = "Y-centrality transformed") 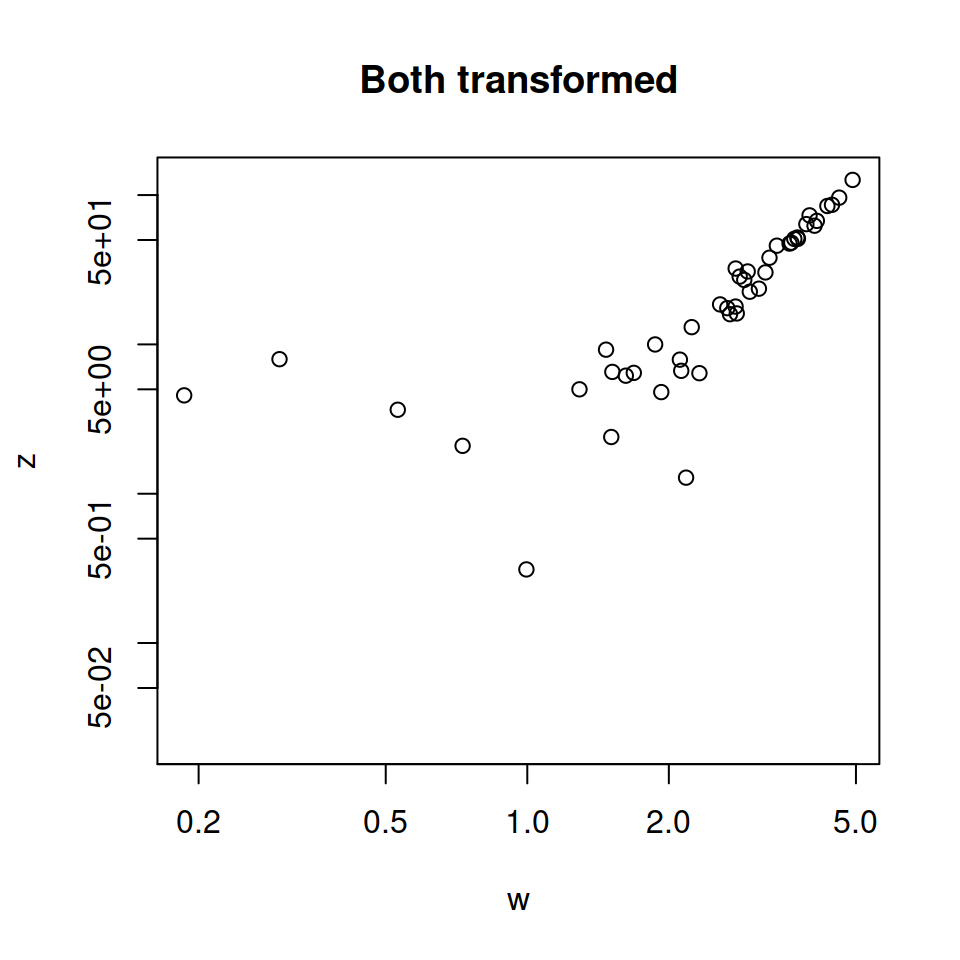
Both transformed.
# Log calibration. 10 and Y axis plot(west, z, log = "xy", main = "Both transformed") Dual axis
You can join together two plots with dissimilar Y-axis scale increasing the margins of the plot, using par(new = Truthful), creating a new plot without centrality or labels and setting a new axis with the centrality function.
# Increase the plot margins par(mar = c(5, 4, 4, four) + 0.25) # Information plot(10, y, pch = 19, ylab = "Var 1") # Needed to merge the plots par(new = True) # More than data plot(x ^ 2, y ^ 2, col = four, pch = 19, axes = FALSE, # No axes bty = "n", # No box xlab = "", ylab = "") # No centrality labels # New centrality axis(iv) # Axis label mtext("Var two", side = 4, line = 3, col = 4) 


A journeying of imagination, exploration, and beautiful information visualizations
Buy on Amazon
Source: https://r-charts.com/base-r/axes/
0 Response to "How To Set X Axis In R"
Post a Comment